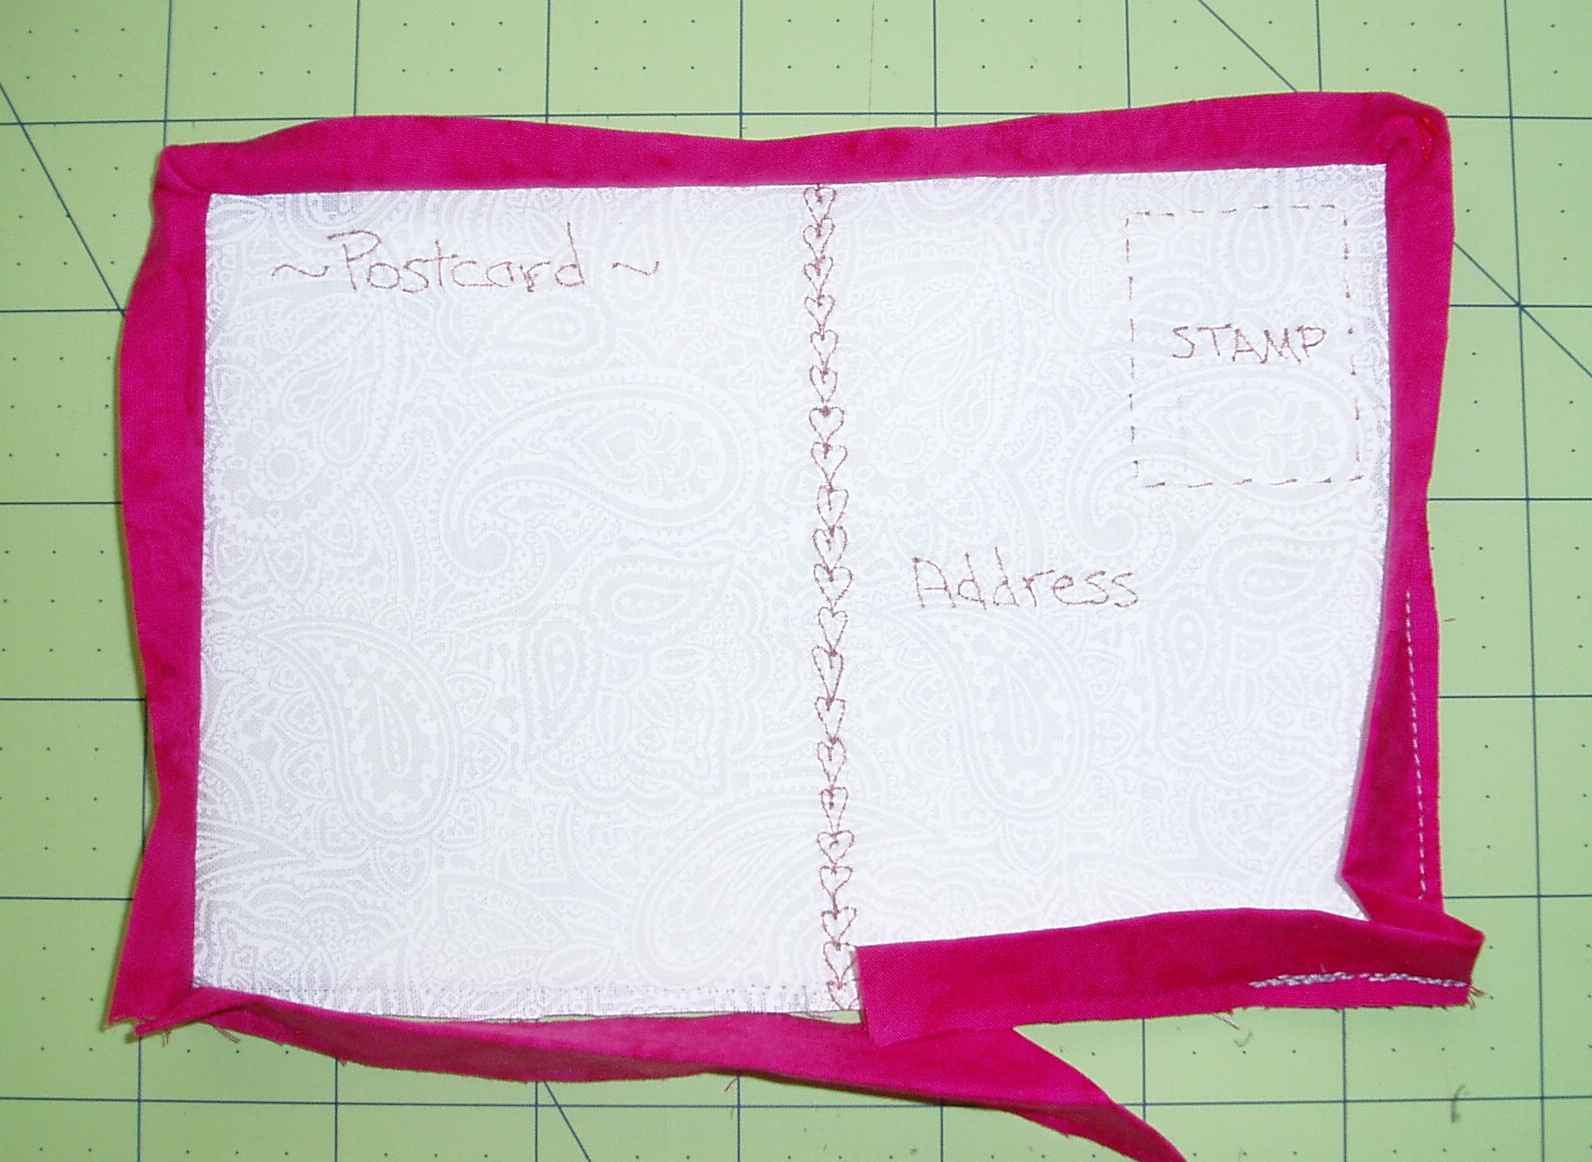
I have seen pictures of the little fabric postcards on other blogs, so when the Carol Doak Yahoo group started a postcard swap, I signed up. Never having made one before I researched postcard sites and made my first one today.
Since it is a Carol Doak group we were required to use one of Carol's paper-piece designs. I went to her 300 Paper-Pieced Quilt Blocks book and chose a 4" x 4" block since the postcard is supposed to finish out at 4" x 6". The block I chose was Block #245.
I copied the 4" x 4" block on my copier and then extended the two sides so that the block was 4" x 6" (finished size).
And now I have a 4" x 6" template to work from and remember to make sure when you are changing a block size or shape that you allow for the additional 1/4" seam allowance.
I then picked out the fabrics I wanted to use and pieced the 2 halves:
I then sewed the two halves together using lots of pins to make sure that I get the sewing line lined up on the front and the back and then pressed it open.
I then cut a piece of
Transweb and pressed it onto the back of the block and cut a piece of Pellon Fusible Thermolan Plus and pressed it onto the postcard fabric.
NOTE - I was not happy with the Pellon Fusible Thermolan Plus for this project so I checked out what others were using and decided I liked the Pellon Peltex 70 Ultra Firm Stabilizer. So, on my next postcard I will try the Peltex.
Then I sandwiched the front to the back and thought I wanted to bind the postcard. Well, I gave it a try and decided I did not like it. I finally ended up picking out the binding strip but nor before I messed around with the edge by cutting it down a bit so the binding would look better.
I then decided to do a satin stitch around the edge but it too does not look very good because of the chop up job I did on the edges while fiddling around with the binding.
Once I perfect the technique for the edges, these are going to be really cute!!
Anyone out there made some fabric postcards and like the technique you used to finish off the edges???